Configuring IFTTT
Configuring IFTTT
IFTTT (If This Then That or If this happens then that happens) is a platform that allows getting services together into Applets and connections. These are specific things that can happen when connecting services.
This lab will use IFTTT as a connector between Arduino Uno (sensor data) and a Google Sheet spreadsheet (to save the sensor data).
Let’s start creating the Applet by clicking the Create button:

Applet creation consists of defining what needs to happen first and, if
it happens, what needs to happen then. So first, we need to select and
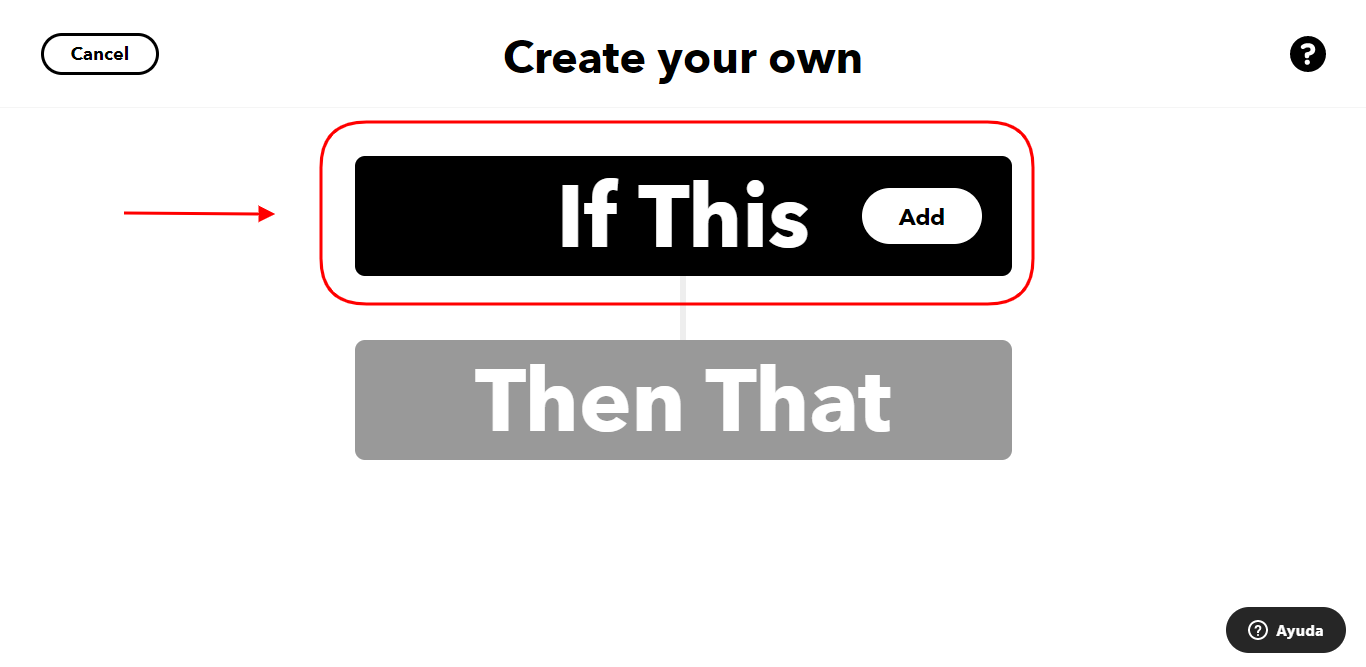
configure what we expect to occur by clicking on the If This black button:
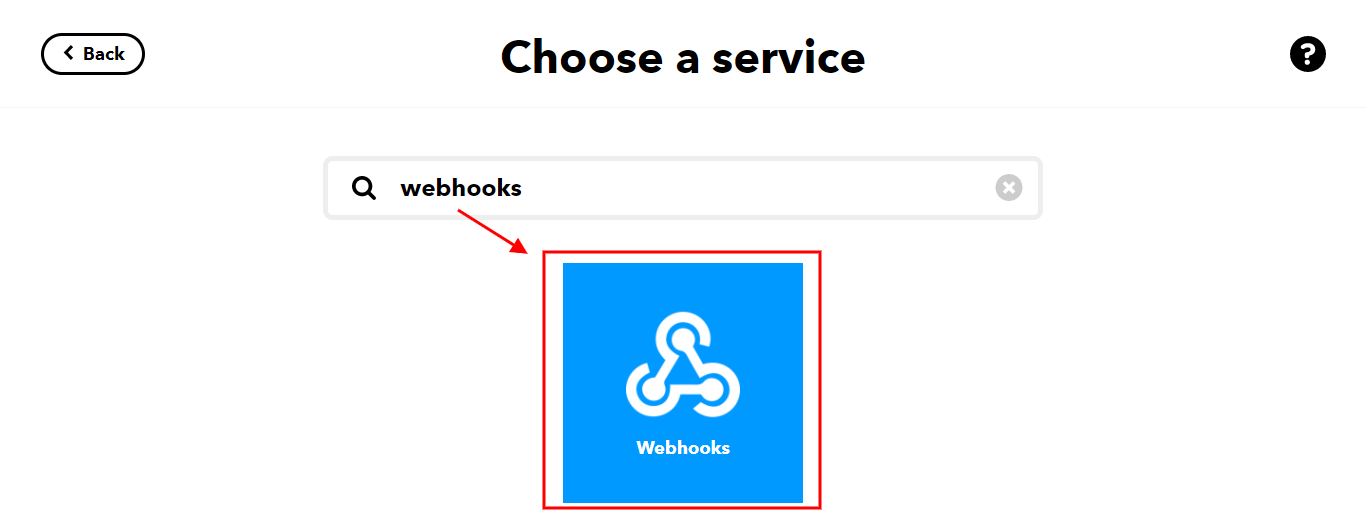
We search and then click on the Webhooks service:
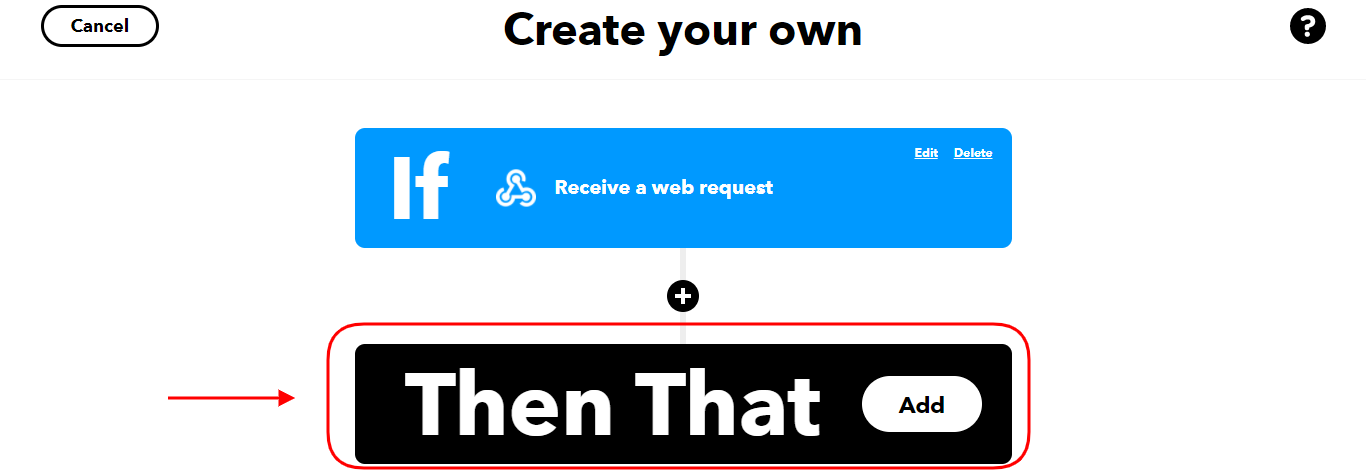
The trigger Receive a web request fires every time the service receives a web request to notify it of an event. All we need to do is to give a name to the event (in this case we call it street_light_sensor) and click the Create trigger button:

The first half of our Applet is ready. Now we need to select what we want to occur then by clicking on the Then That black button:
Search and then click on the Google Sheets service:

We intend to add a new row to the spreadsheet each time the sensor (the Arduino) publish a new lecture, so we select Add row to spreadsheet. This function will add a single row to the bottom of the first worksheet of the spreadsheet. Let’s name the spreadsheet Street-lights. If the spreadsheet does not exist, IFTTT will create it:

Now we are going to establish the row format (columns). IFTTT offers up to five variables (ingredients) for Google Sheets:
- EventName: the name
of the Webhooks event (street_light_sensor). This is useful
when many Applets update the same spreadsheet.
- Value1 (and Value2 and Value3):
variable containing the sensor data (up to 3).
- OccurredAt: date and time the publication occurs.
Use “|||” to separate cells:

When ready, fill the Google Drive folder path (the spreadsheet location) and click the Create action button:

Finally, let’s give the name Street Light Sensor to our new Applet:

In the same page we find the option to receive notifications when the Applet runs. Enable it to receive notifications in the smartphone (install the IFTTT app):

Click the Finish button. The Applet creation is ready and running (connected):

Triggering Webhooks Applets requires a unique key.
The key is available from the user profile (upper right side) by
clicking the My services menu option.
Look for the Webhooks service at the end of the page (services are alphabetically ordered), click on it and then click on the Documentation button. A new page will show the key in a legend like this: Your key is: ceubX8trC3ZXKFTrEMXc-Z. (This key is an example.)