Database Creation in Amazon S3
Database Creation in Amazon S3
Database Creation in Amazon S3
1 -
Go to aws.amazon.com as shown
in the address bar.
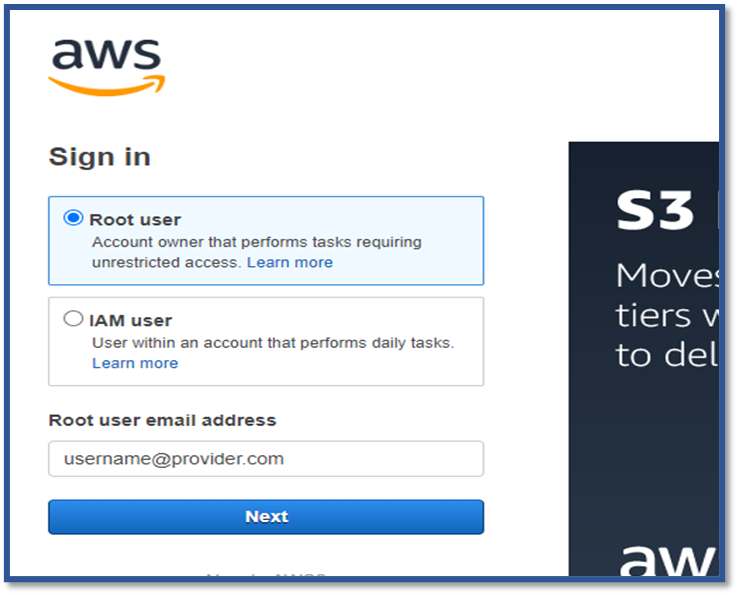
3 - Enter your username and then your password and login to Amazon AWS system.
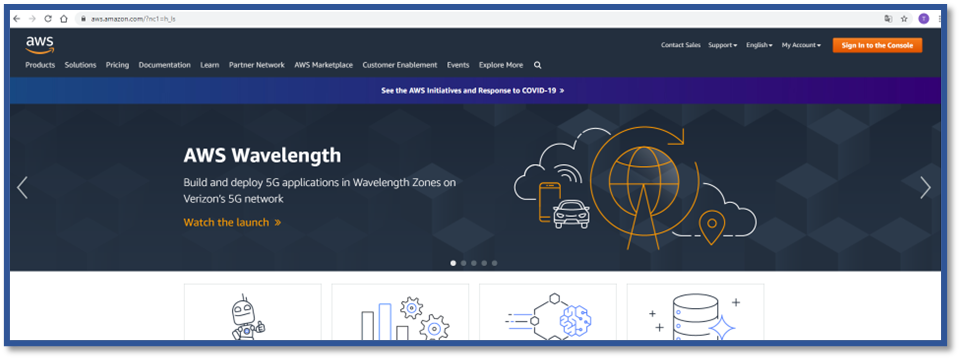
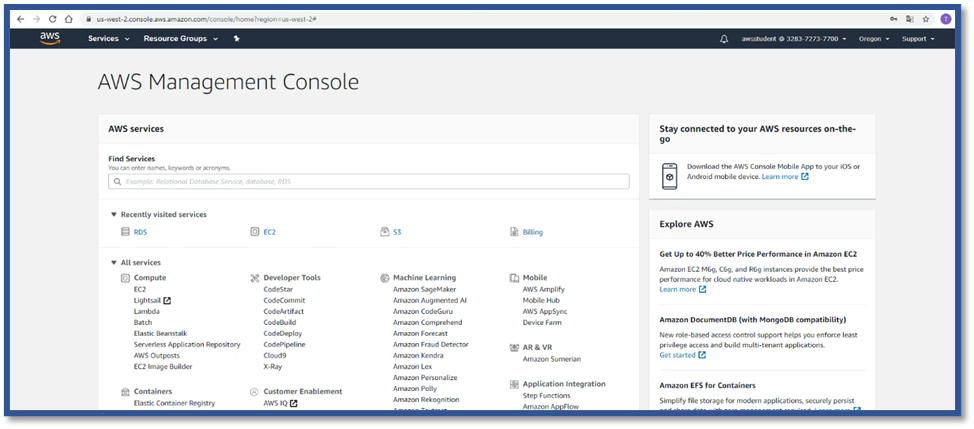
4 - You will see the main page with Aws services.
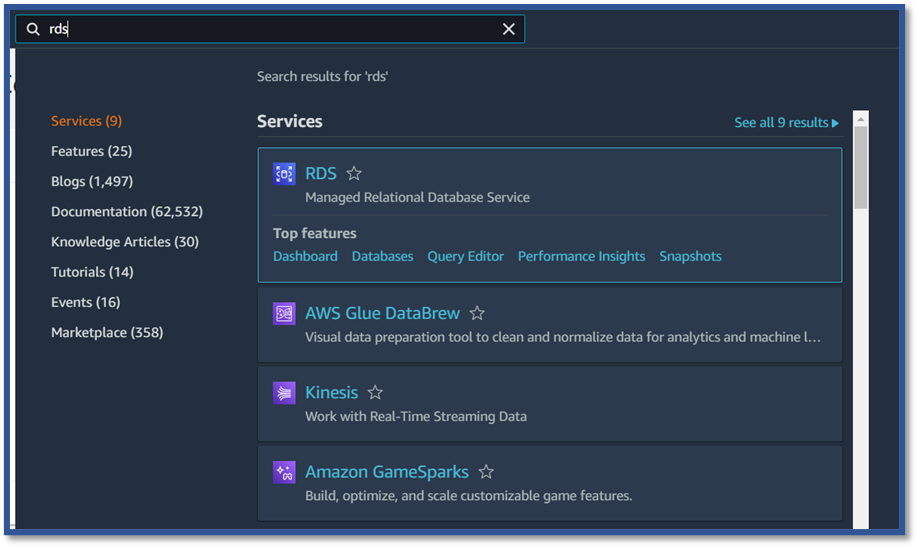
5 - By clicking on the search bar , we type “RDS” and search
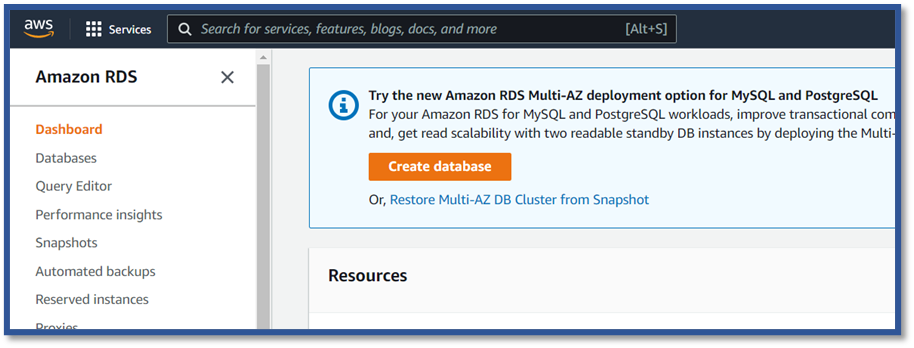
6 - Create a new database by clicking the Create database button.
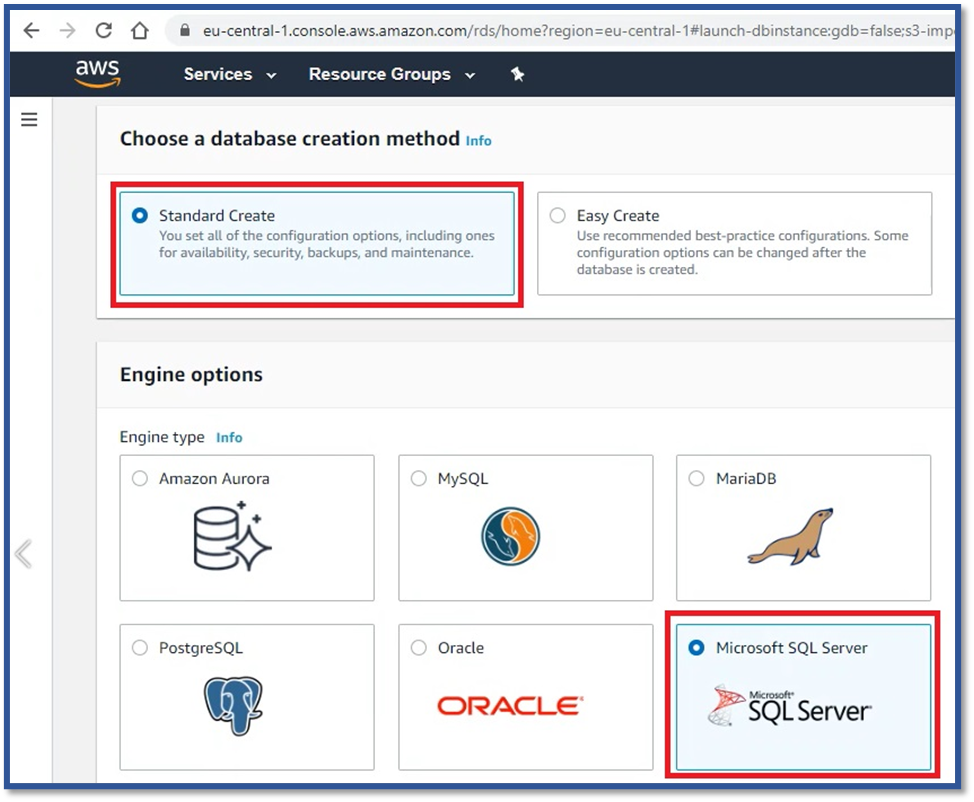
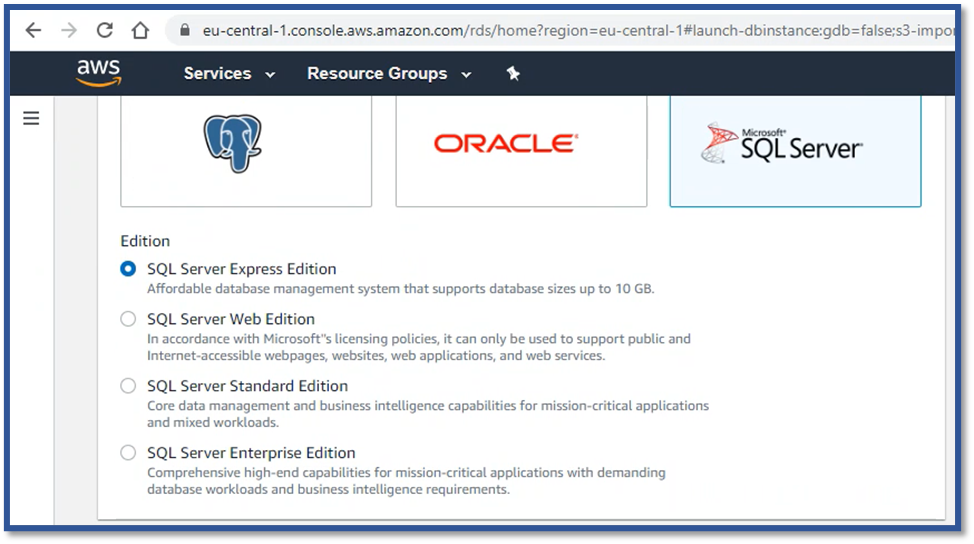
7 - To create a standard database, we select the "Standard create" option. Select the type of your database below. Microsoft SQL Server will be used in our application
8 - " SQL Server Express Edition" option for a shorter installation time and system resource . If you need different systems, you can choose other options.
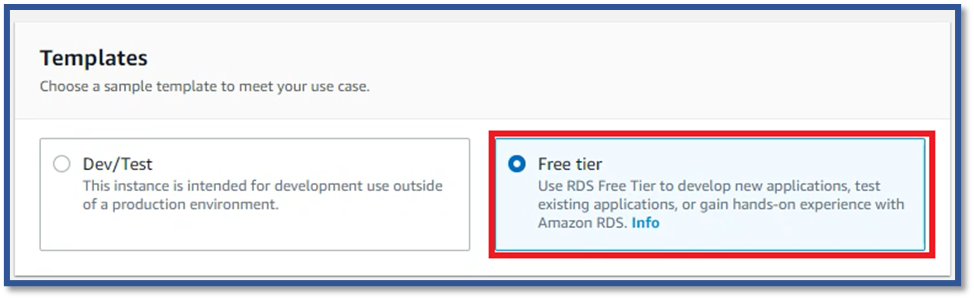
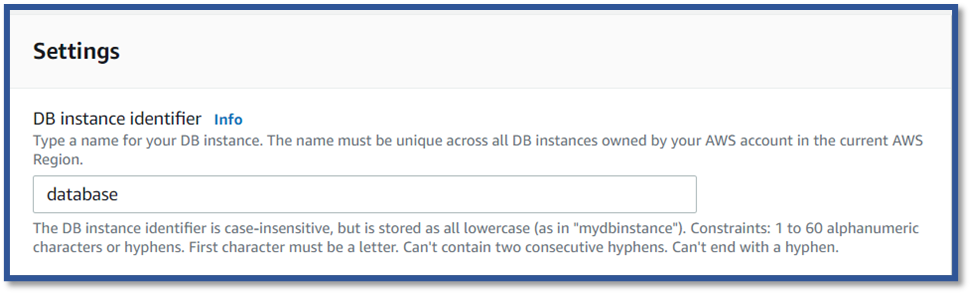
We choose the template that Amazon AWS offers for free (Free tier). We give a name to the database we created. We named it "database".
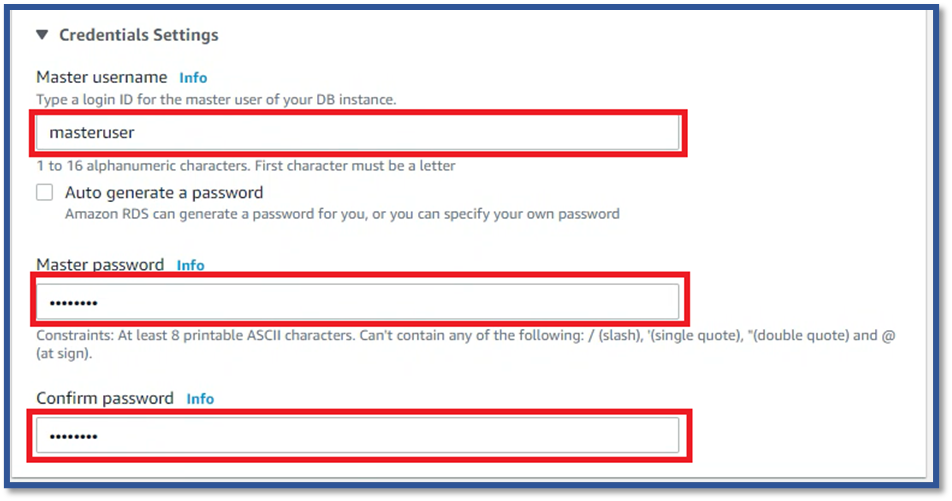
9 - We define username and password for our database . You can also leave it blank, but Amazon RDS does not prefer it.
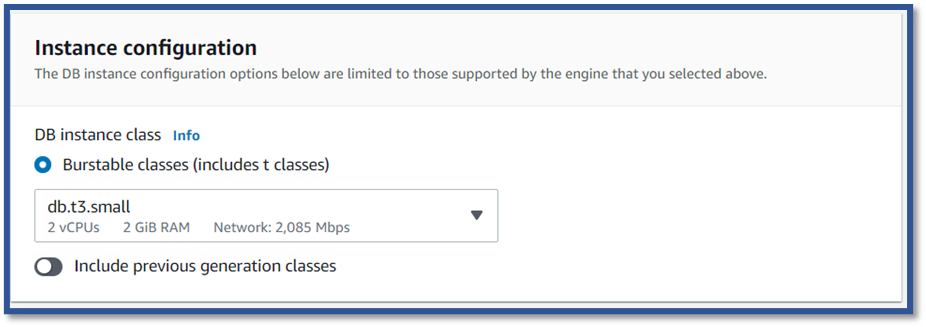
10 - We need a computer where our database will be installed. For this, we choose the free t2.micro (comes in trial versions) or t3.small among the options available to us. Note that the hard drive capacity will not be less than 20GB.
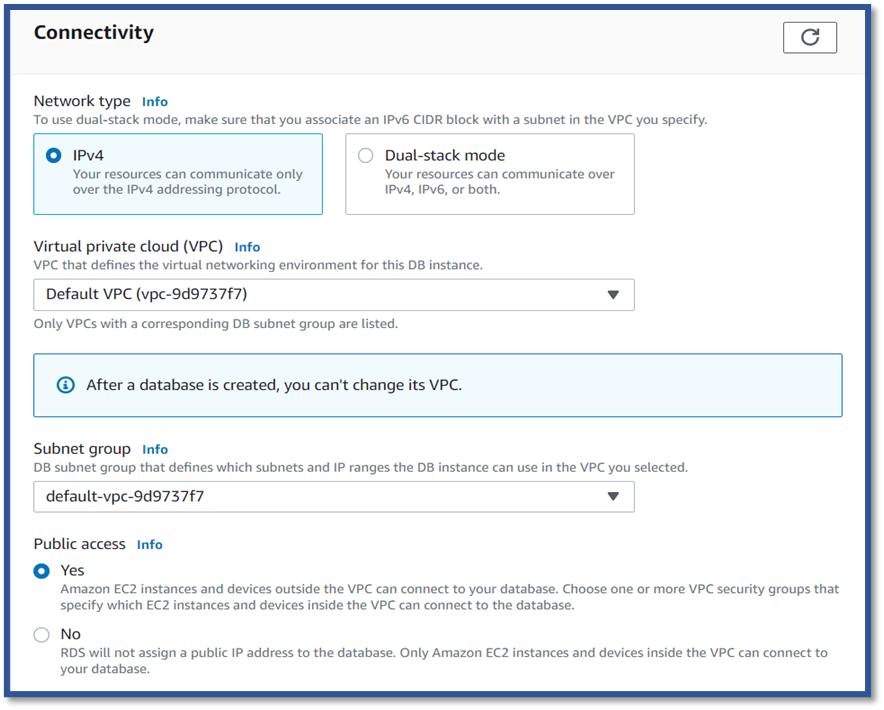
11 - We do not make any changes to VPC settings. However, let 's remember from the previous information that the access must be public . It is not possible to access a non- public system over the internet.
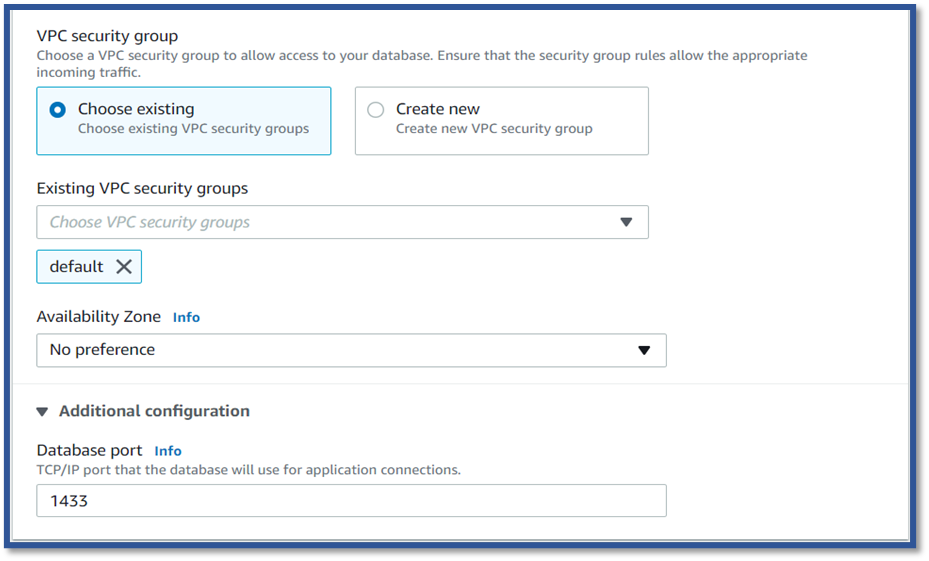
12 - We do not make any changes to the port number with VPC security settings. Port 1433 is the SQL access port.
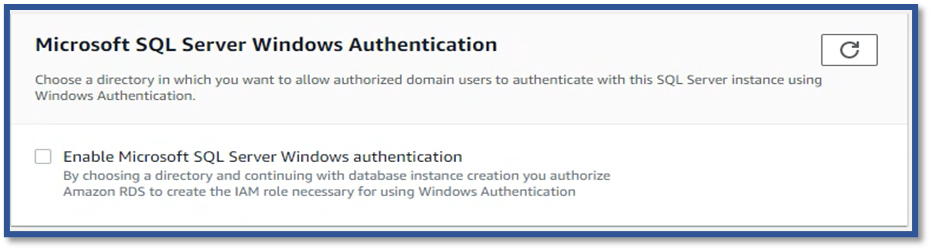
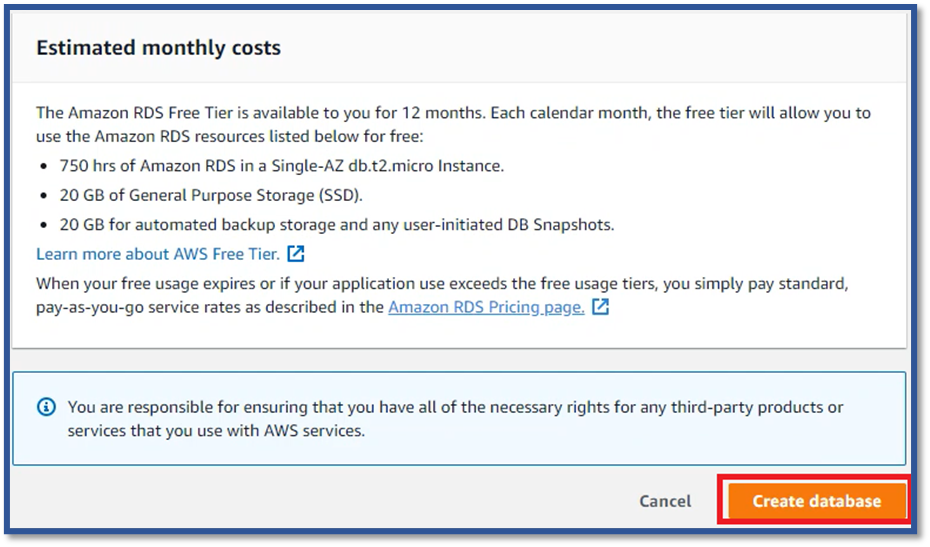
13 - Amazon AWS will provide you with information that you do not need to pay any fees. You can review the terms (given as 3 items) . Then “ Create ” We create our database by clicking the “ database ” button .
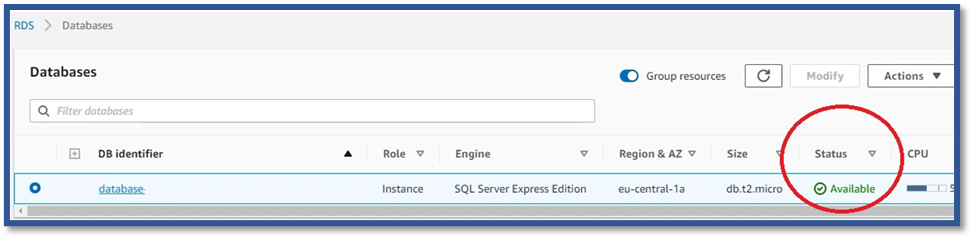
14 - It shows you the creation of our database under the Status heading. This process takes a few minutes.
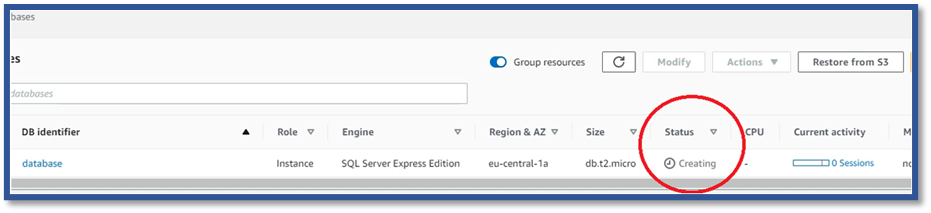
15- After a few minutes, you will be notified that your database is ready. Now your database is ready.