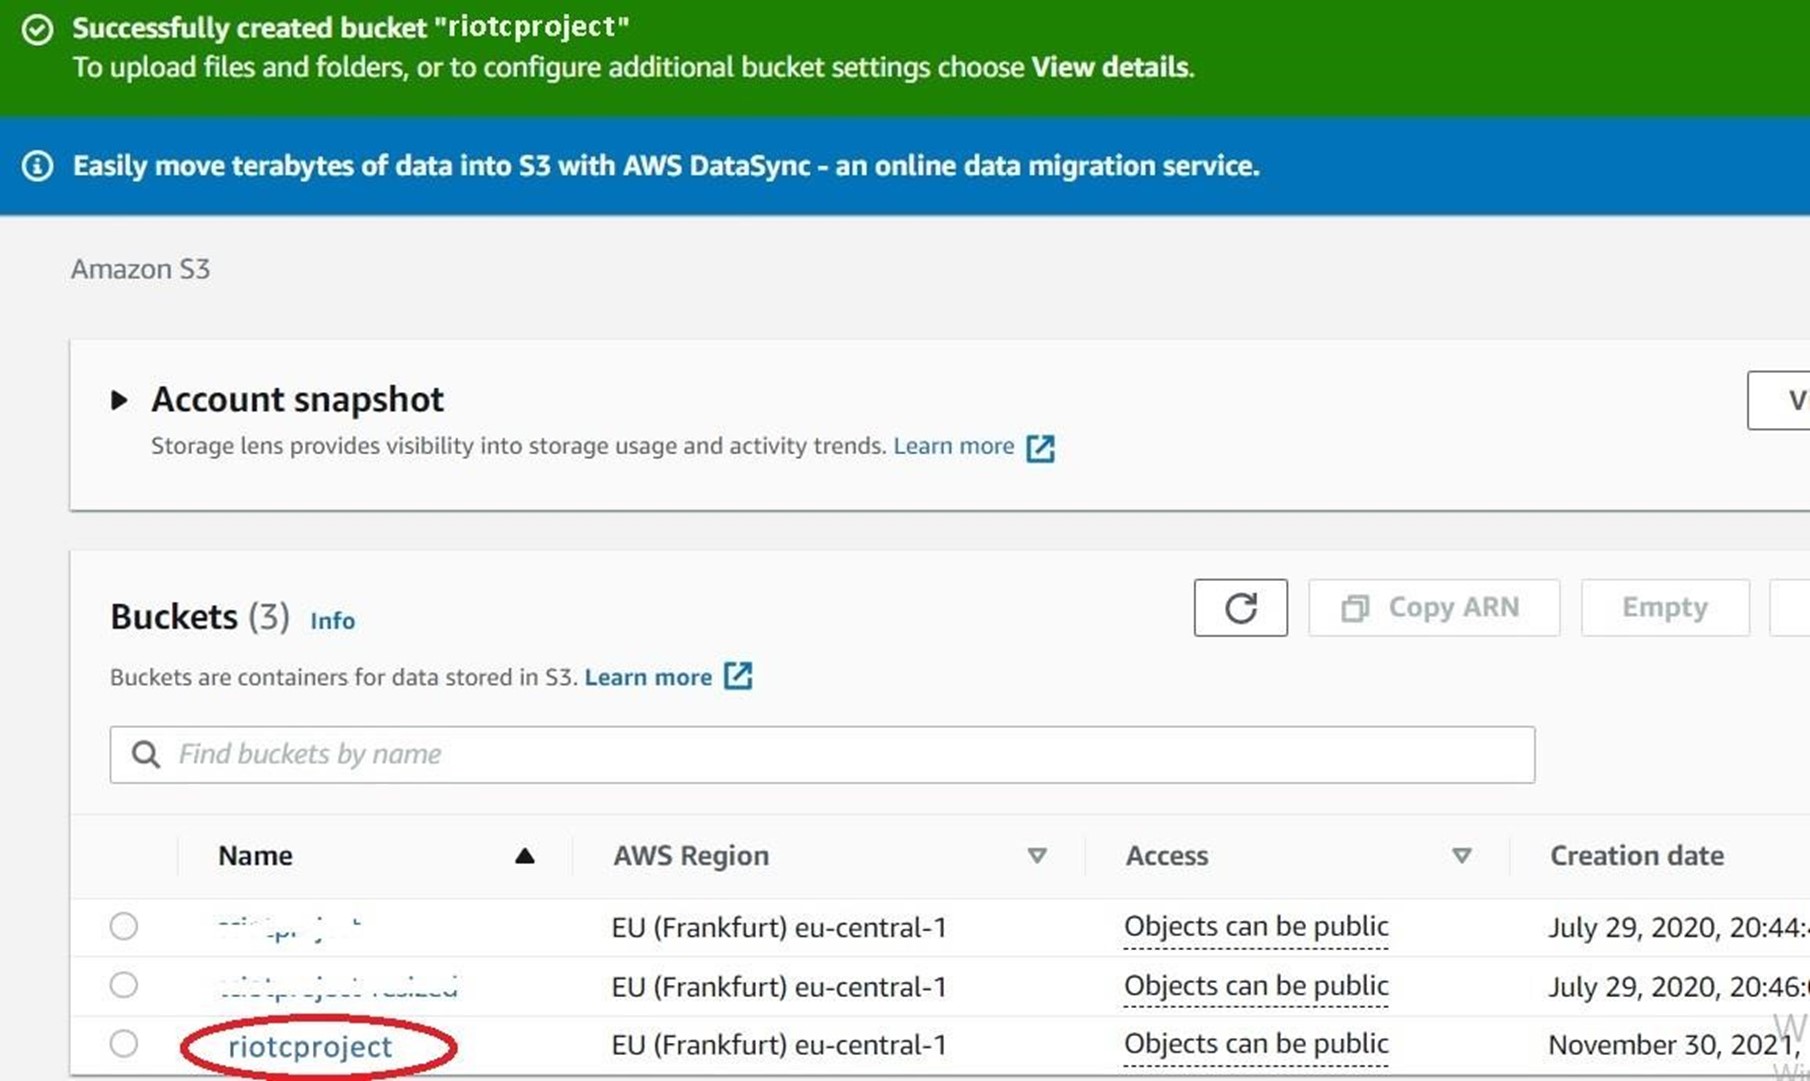
Creating buckets
Cloud
computing market share
Creating bucket
Main Content:
This is the core text of the module, it is encouraged that you use photos, flowcharts, or other visual material (make sure that the material used is copyright free, such as unsplash, pixabay, etc).
Step- 1: aws.amazon.com type the address in your web browser
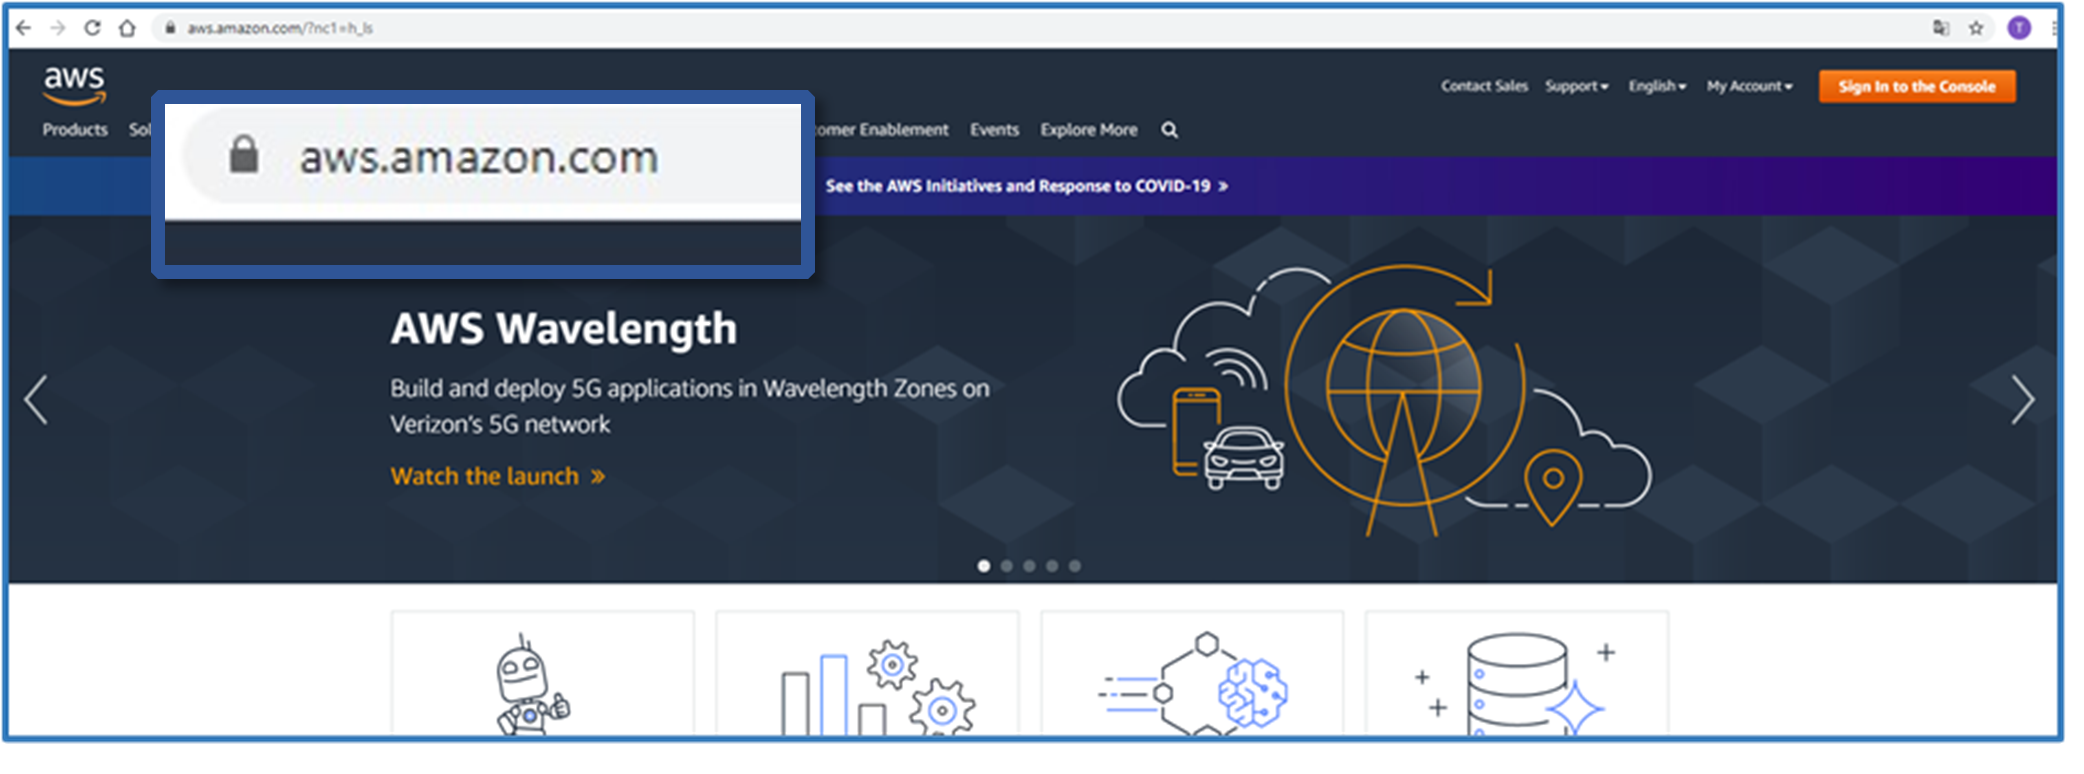
Step-2: Press the “Sign In to the Console” button in the upper right corner.
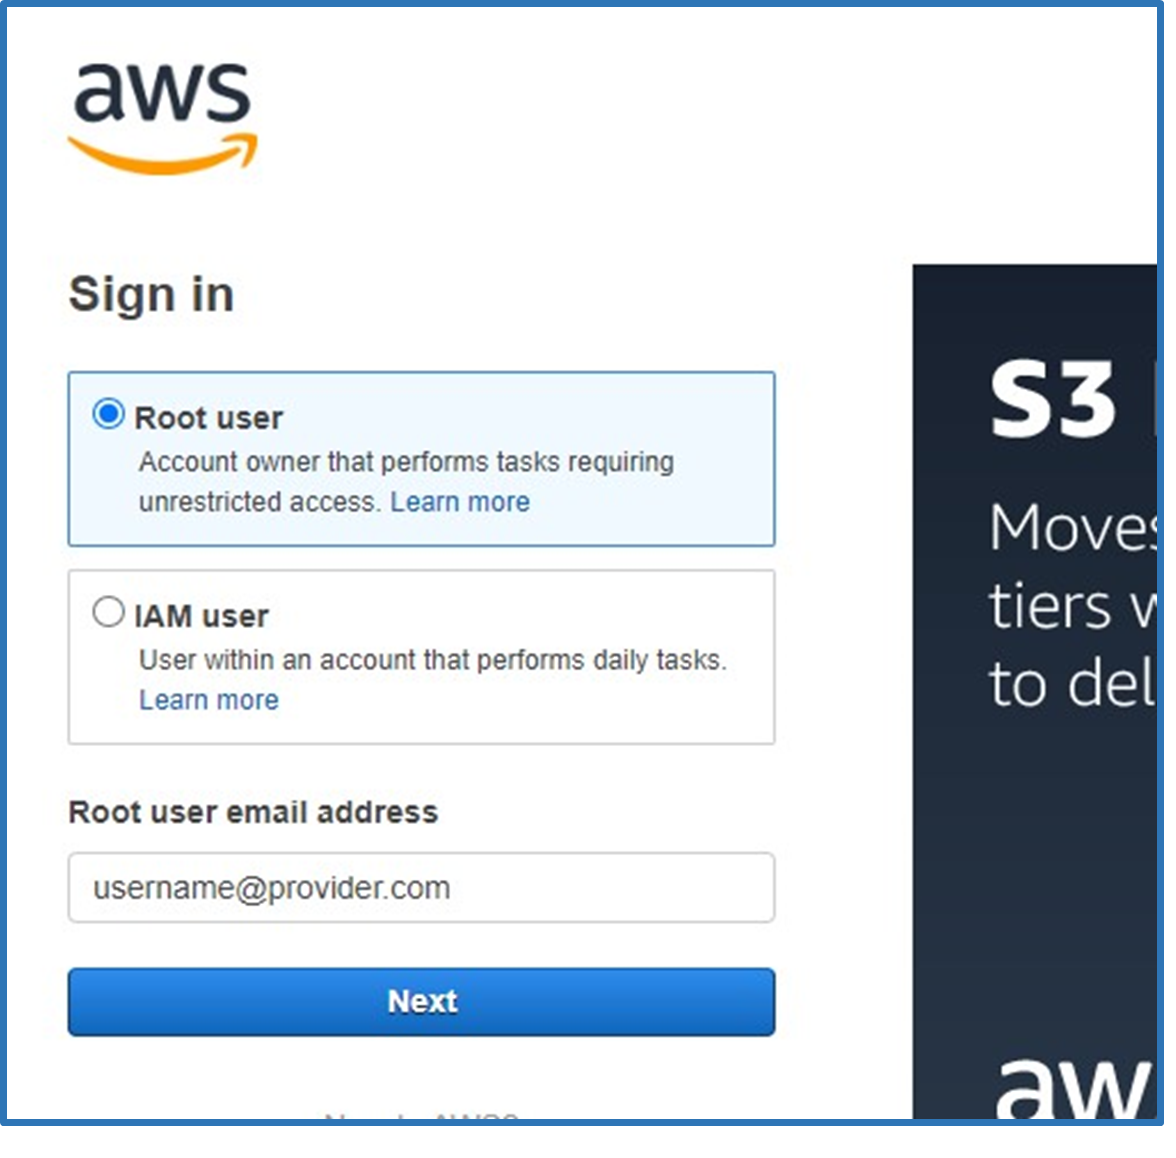
Step-3: Enter your user name and then your password and log in to the Amazon AWS system.
Step-4: AWS services will appear on the main page.
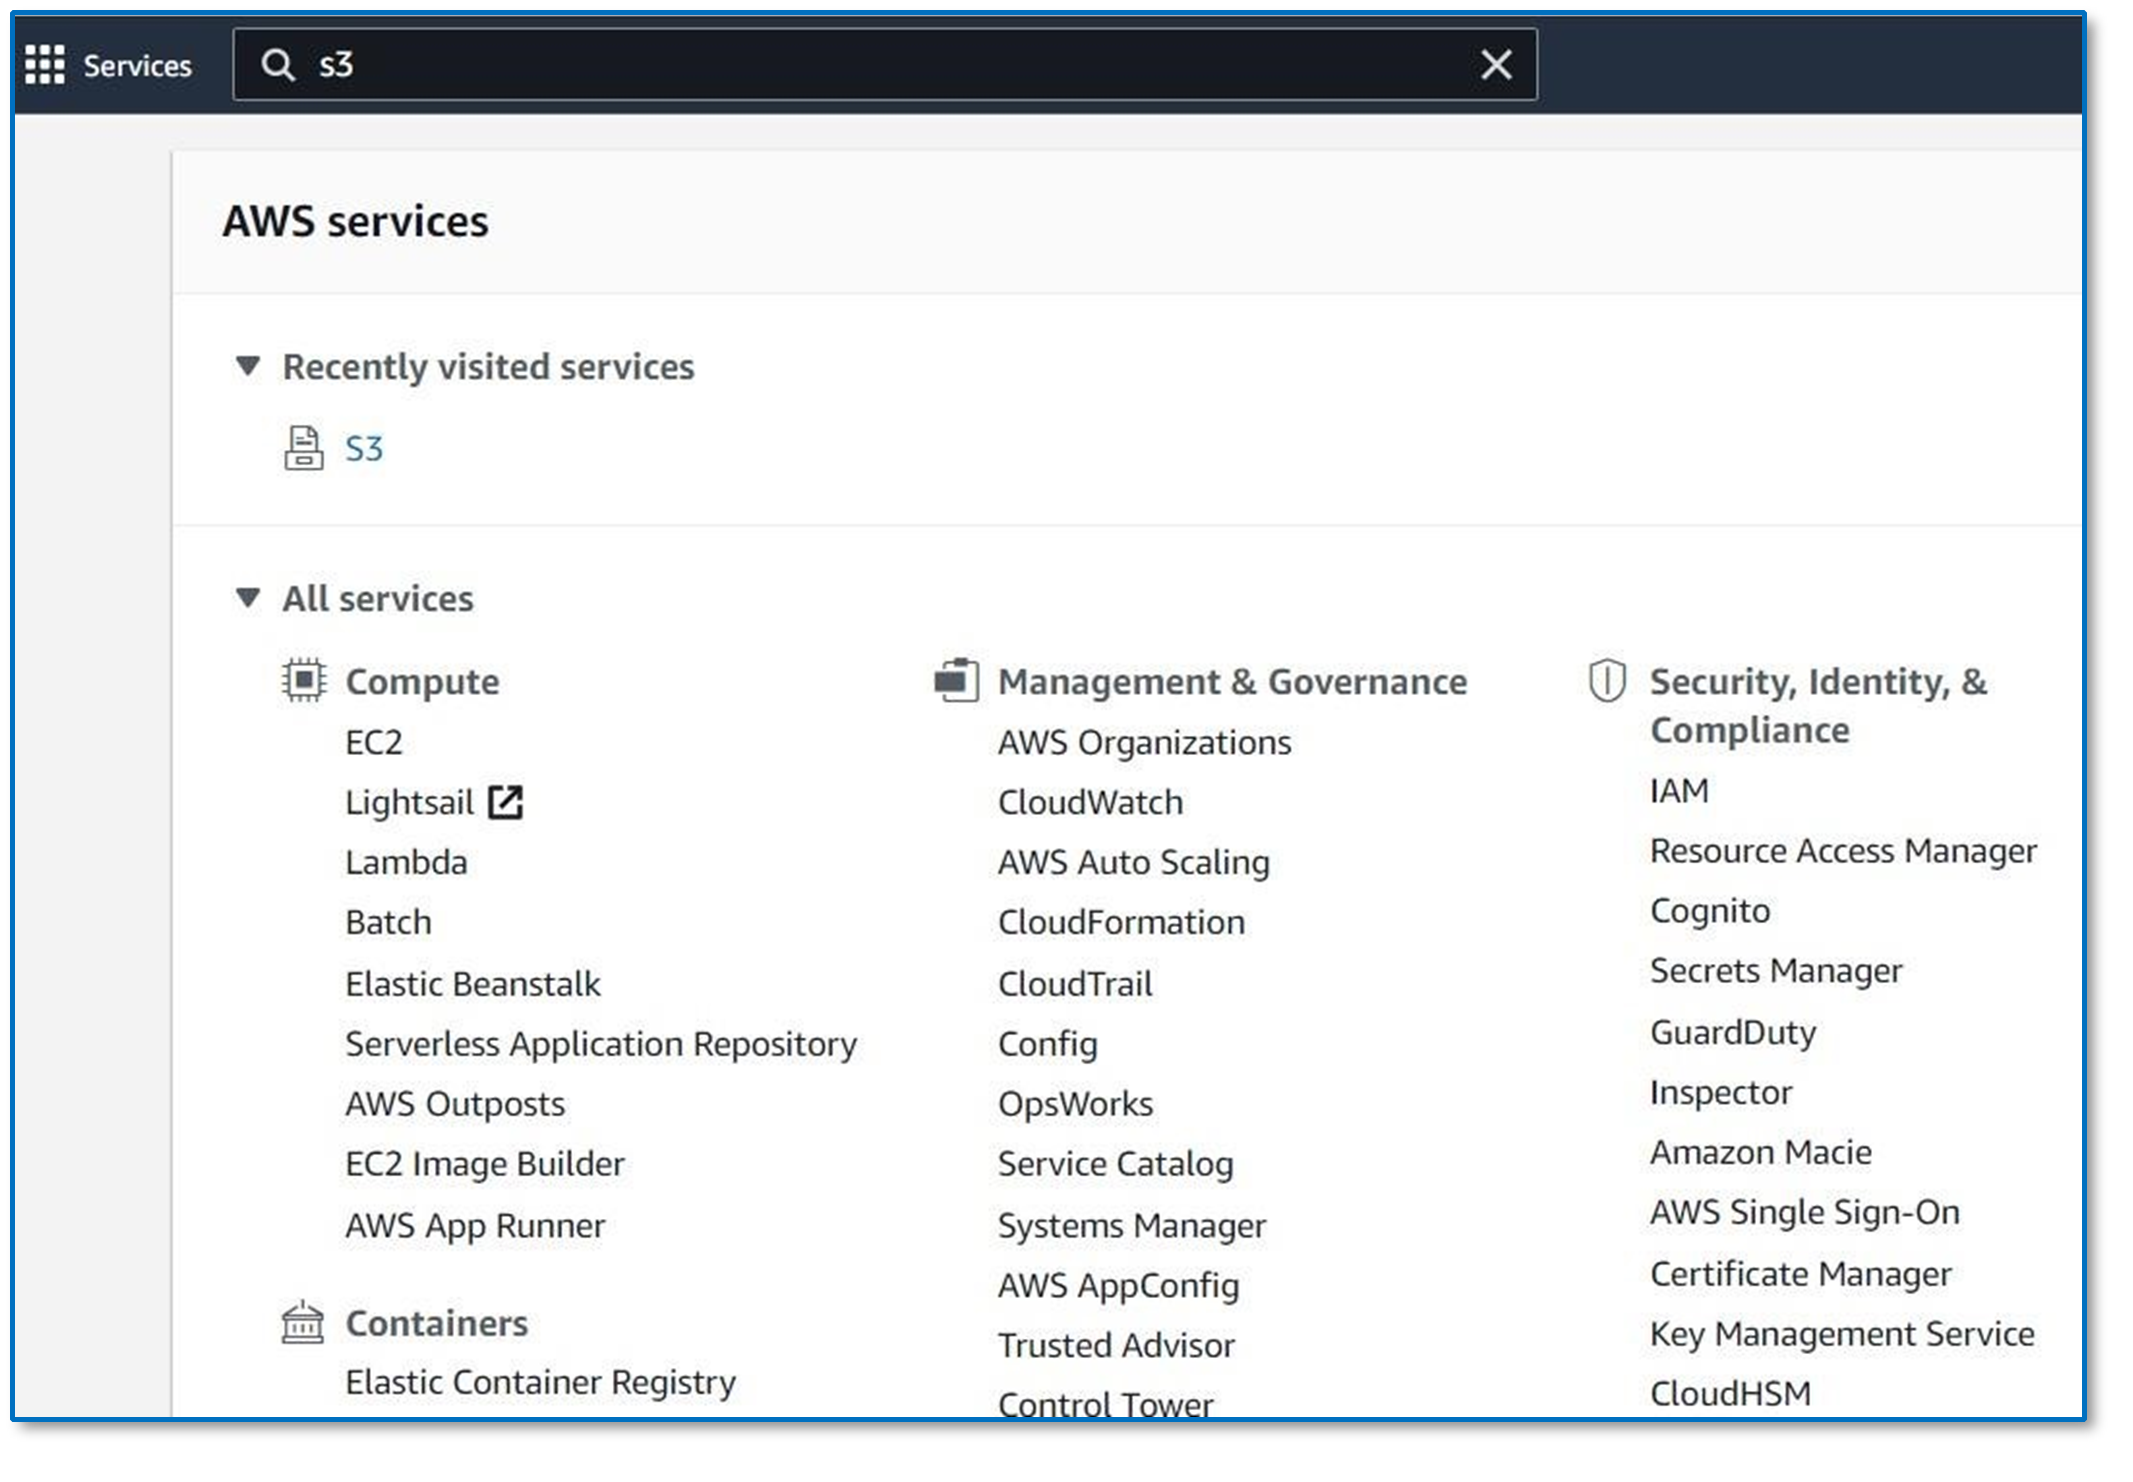
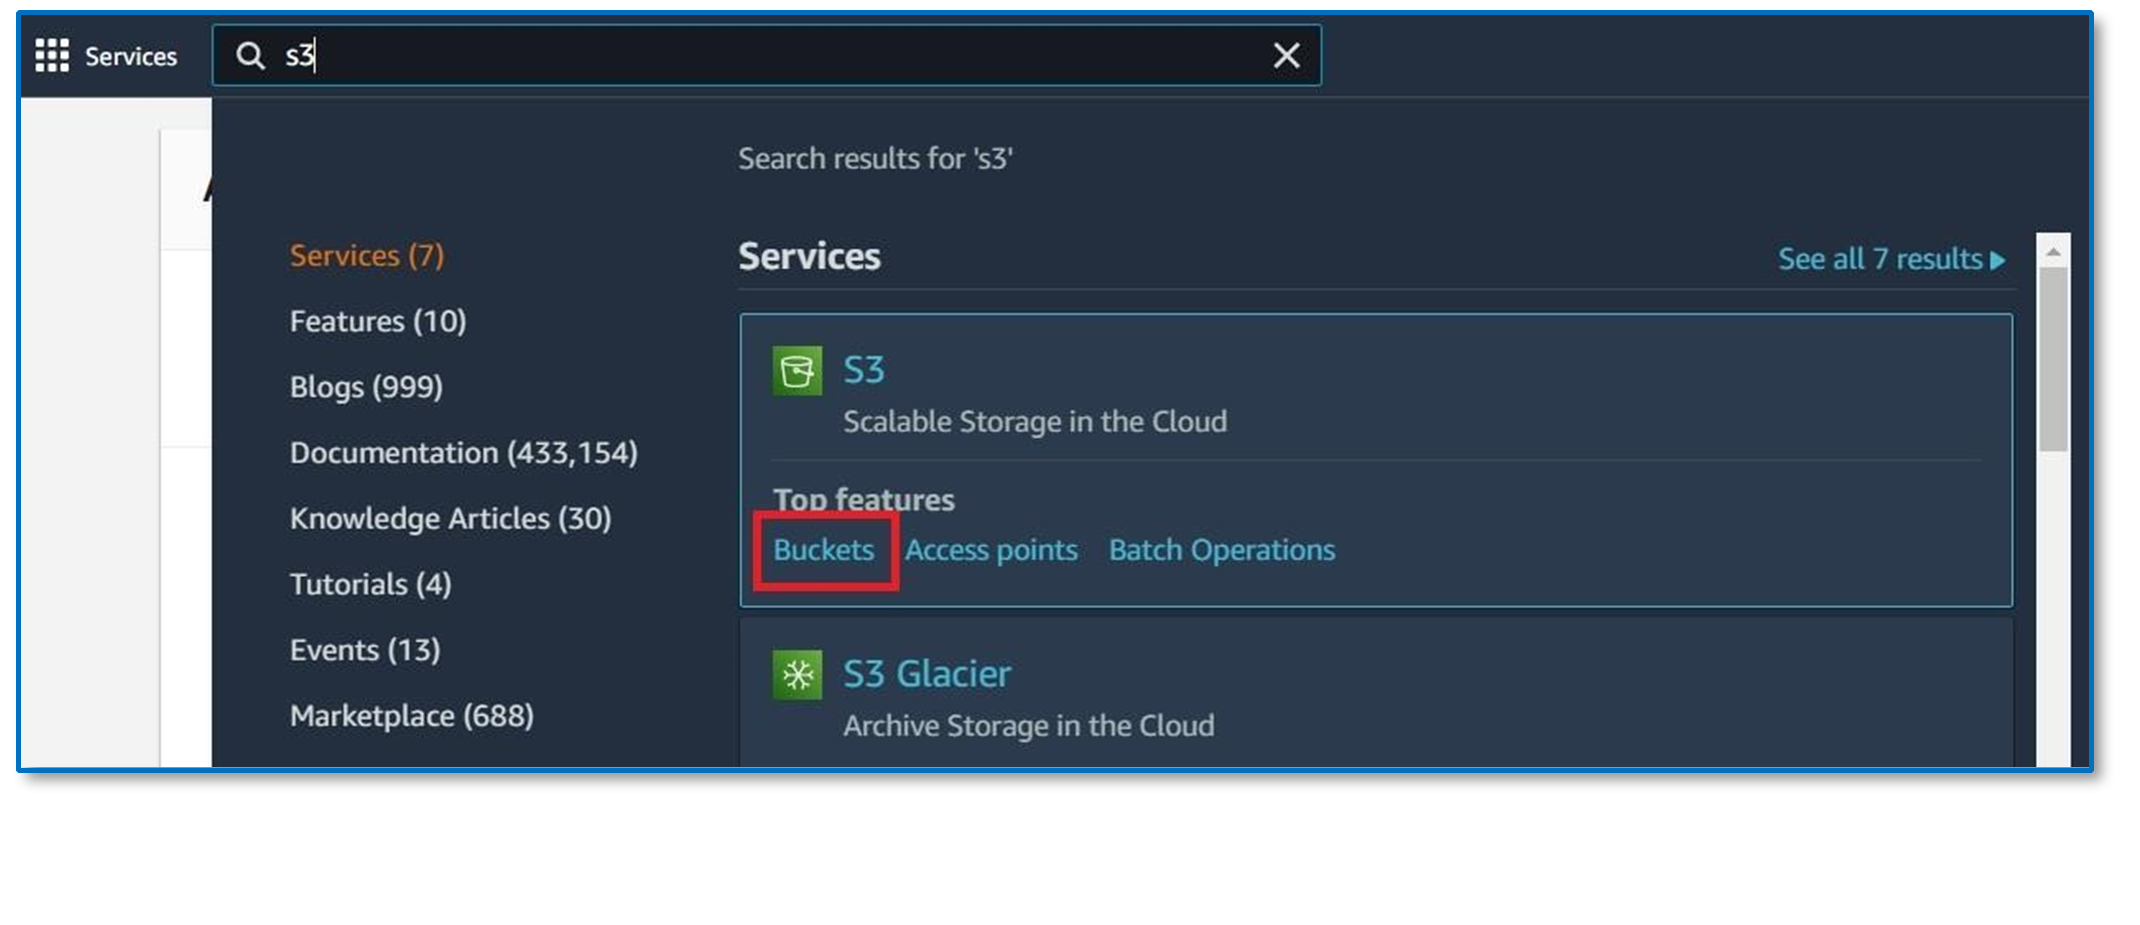
Step-5: By clicking on the searchbar we are writing “S3” and looking for it. Then choose the “Buckets” section.
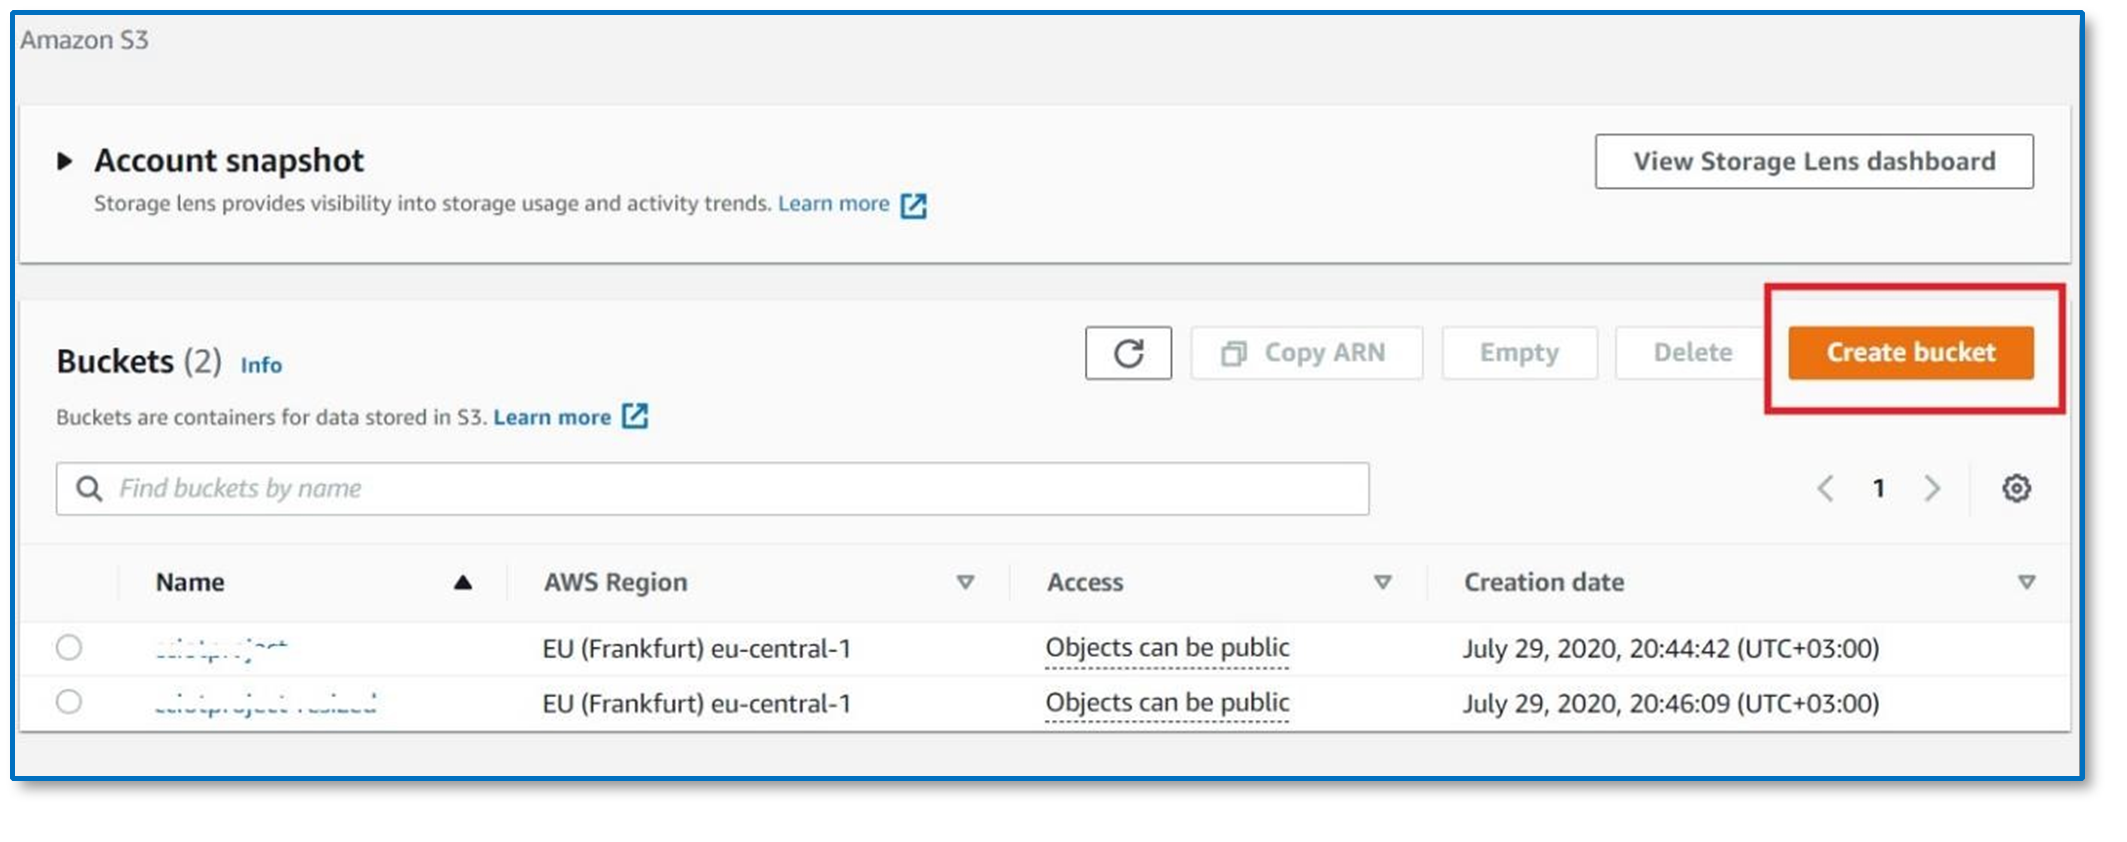
Step-6: Your existing or non-existing buckets are listed in the S3 service. Then press “Create bucket” button on S3 screen.
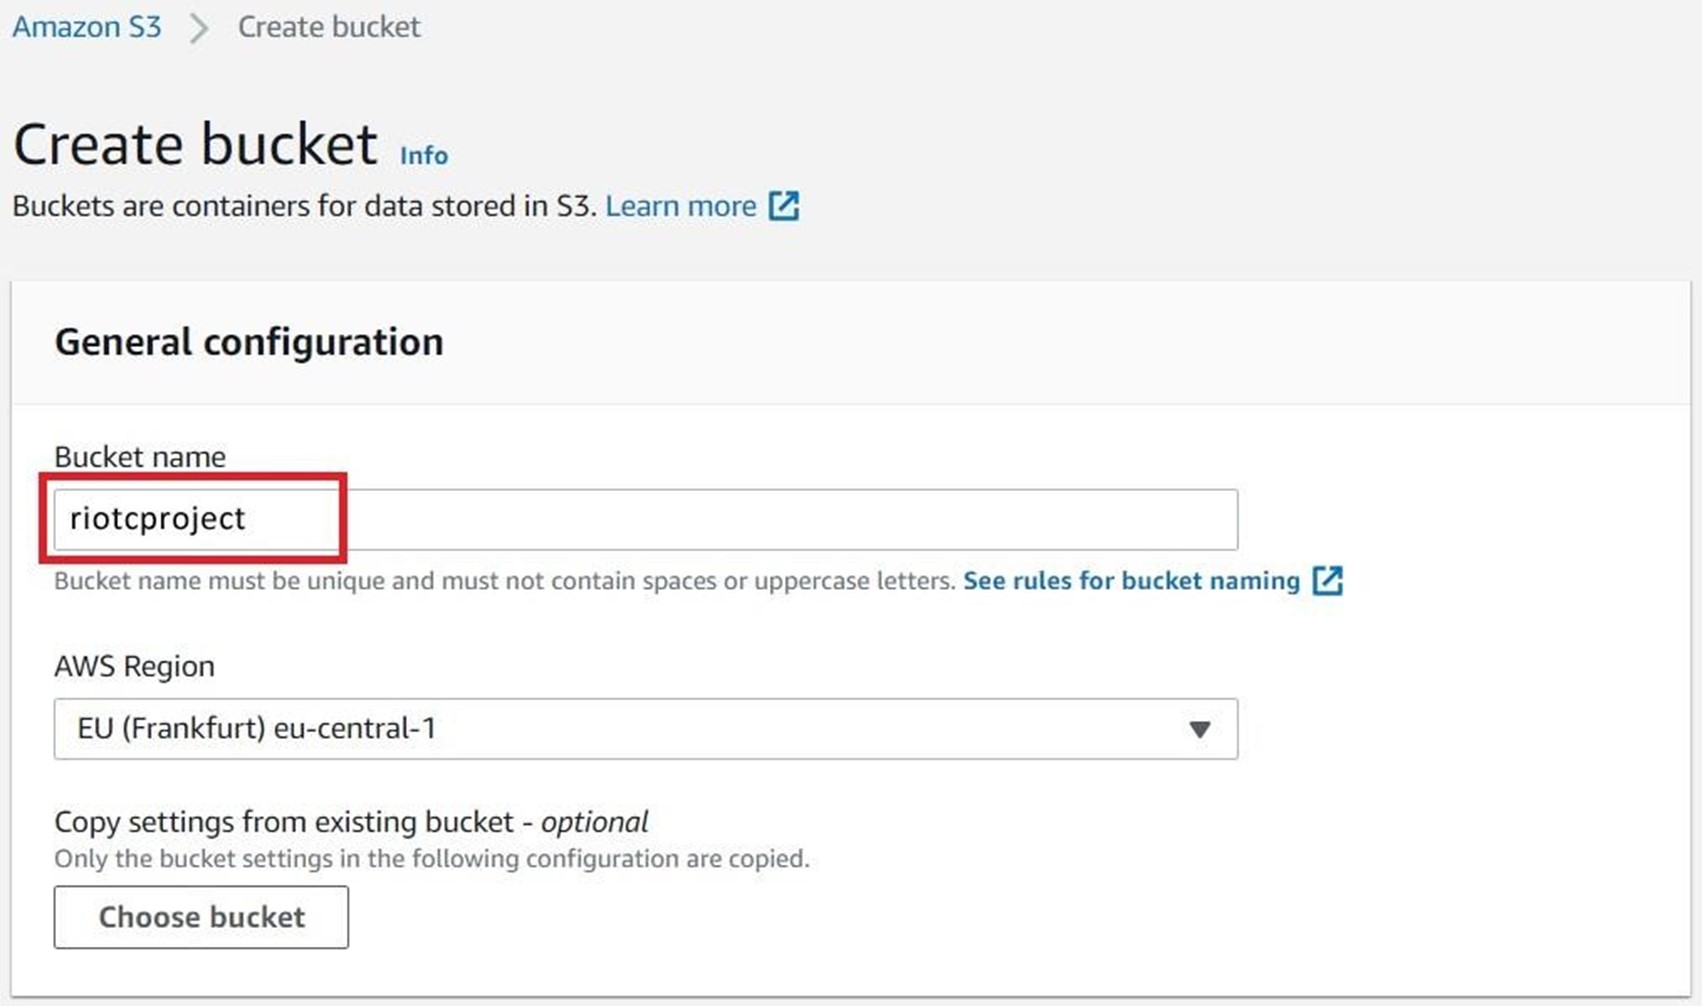
Step-7: Give a name to the bucket we want to create (riotcproject), we select our region (Frankfurt is closer) and scroll down the page.
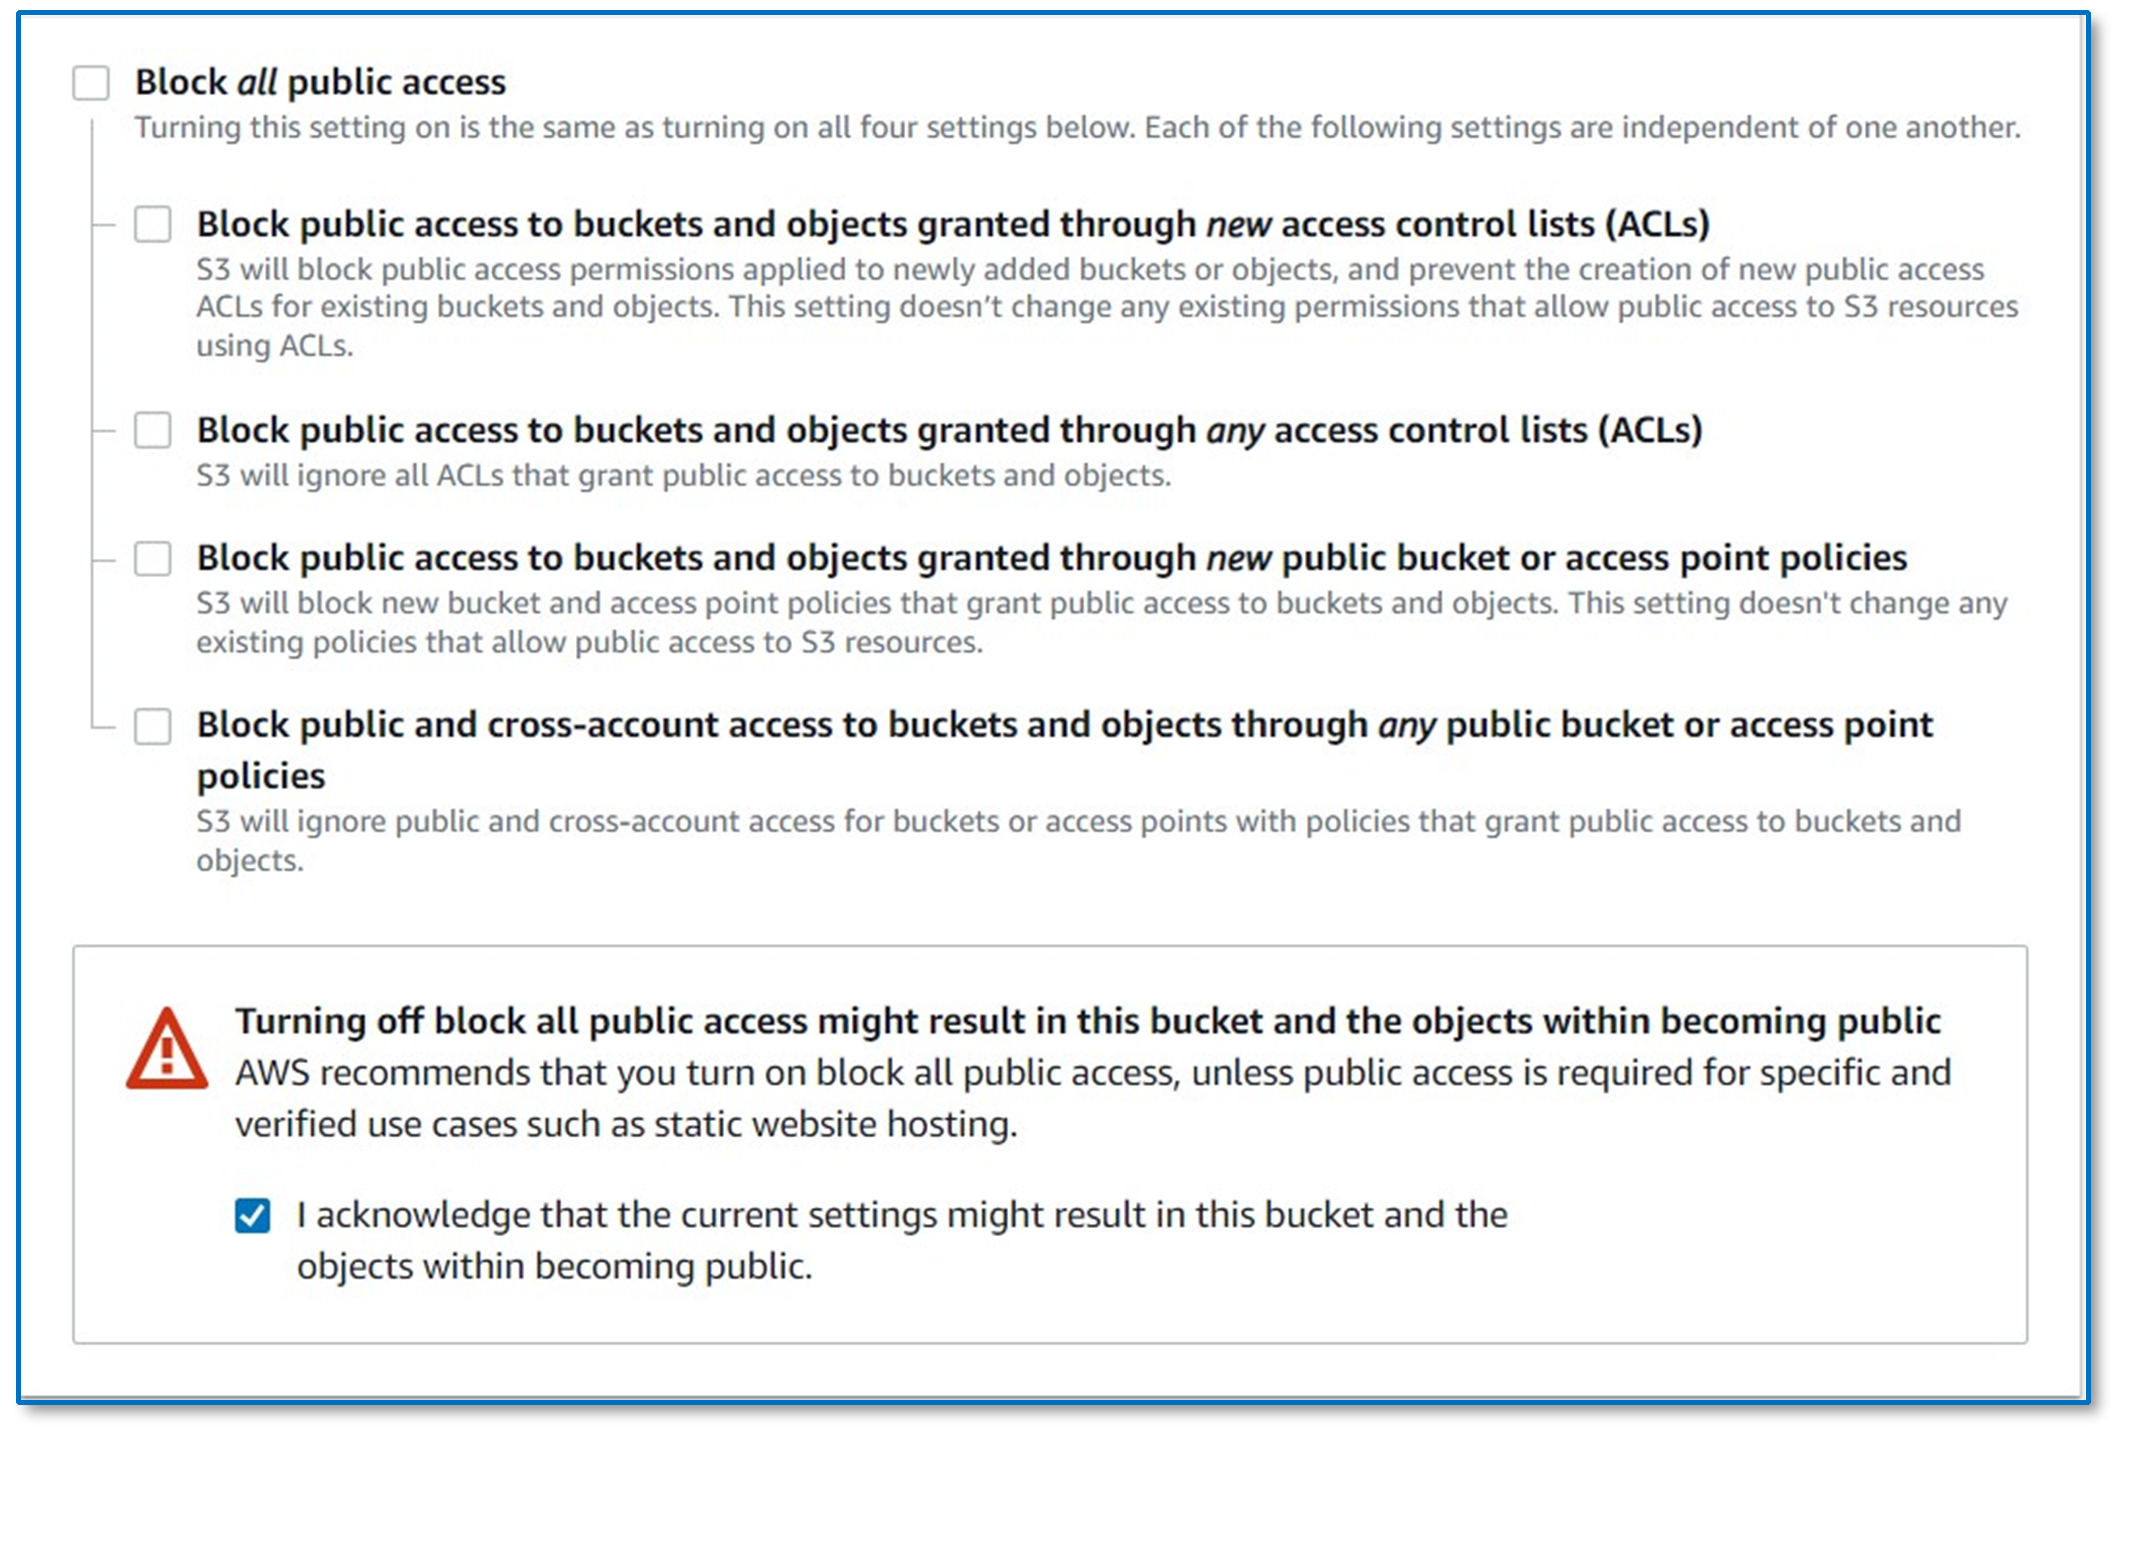
Step-8: The default settings of the hive that we created are closed to external access. If you want to be able to access this bucket on the Web, we will remove the “Block all public access” sign as shown in the image below.
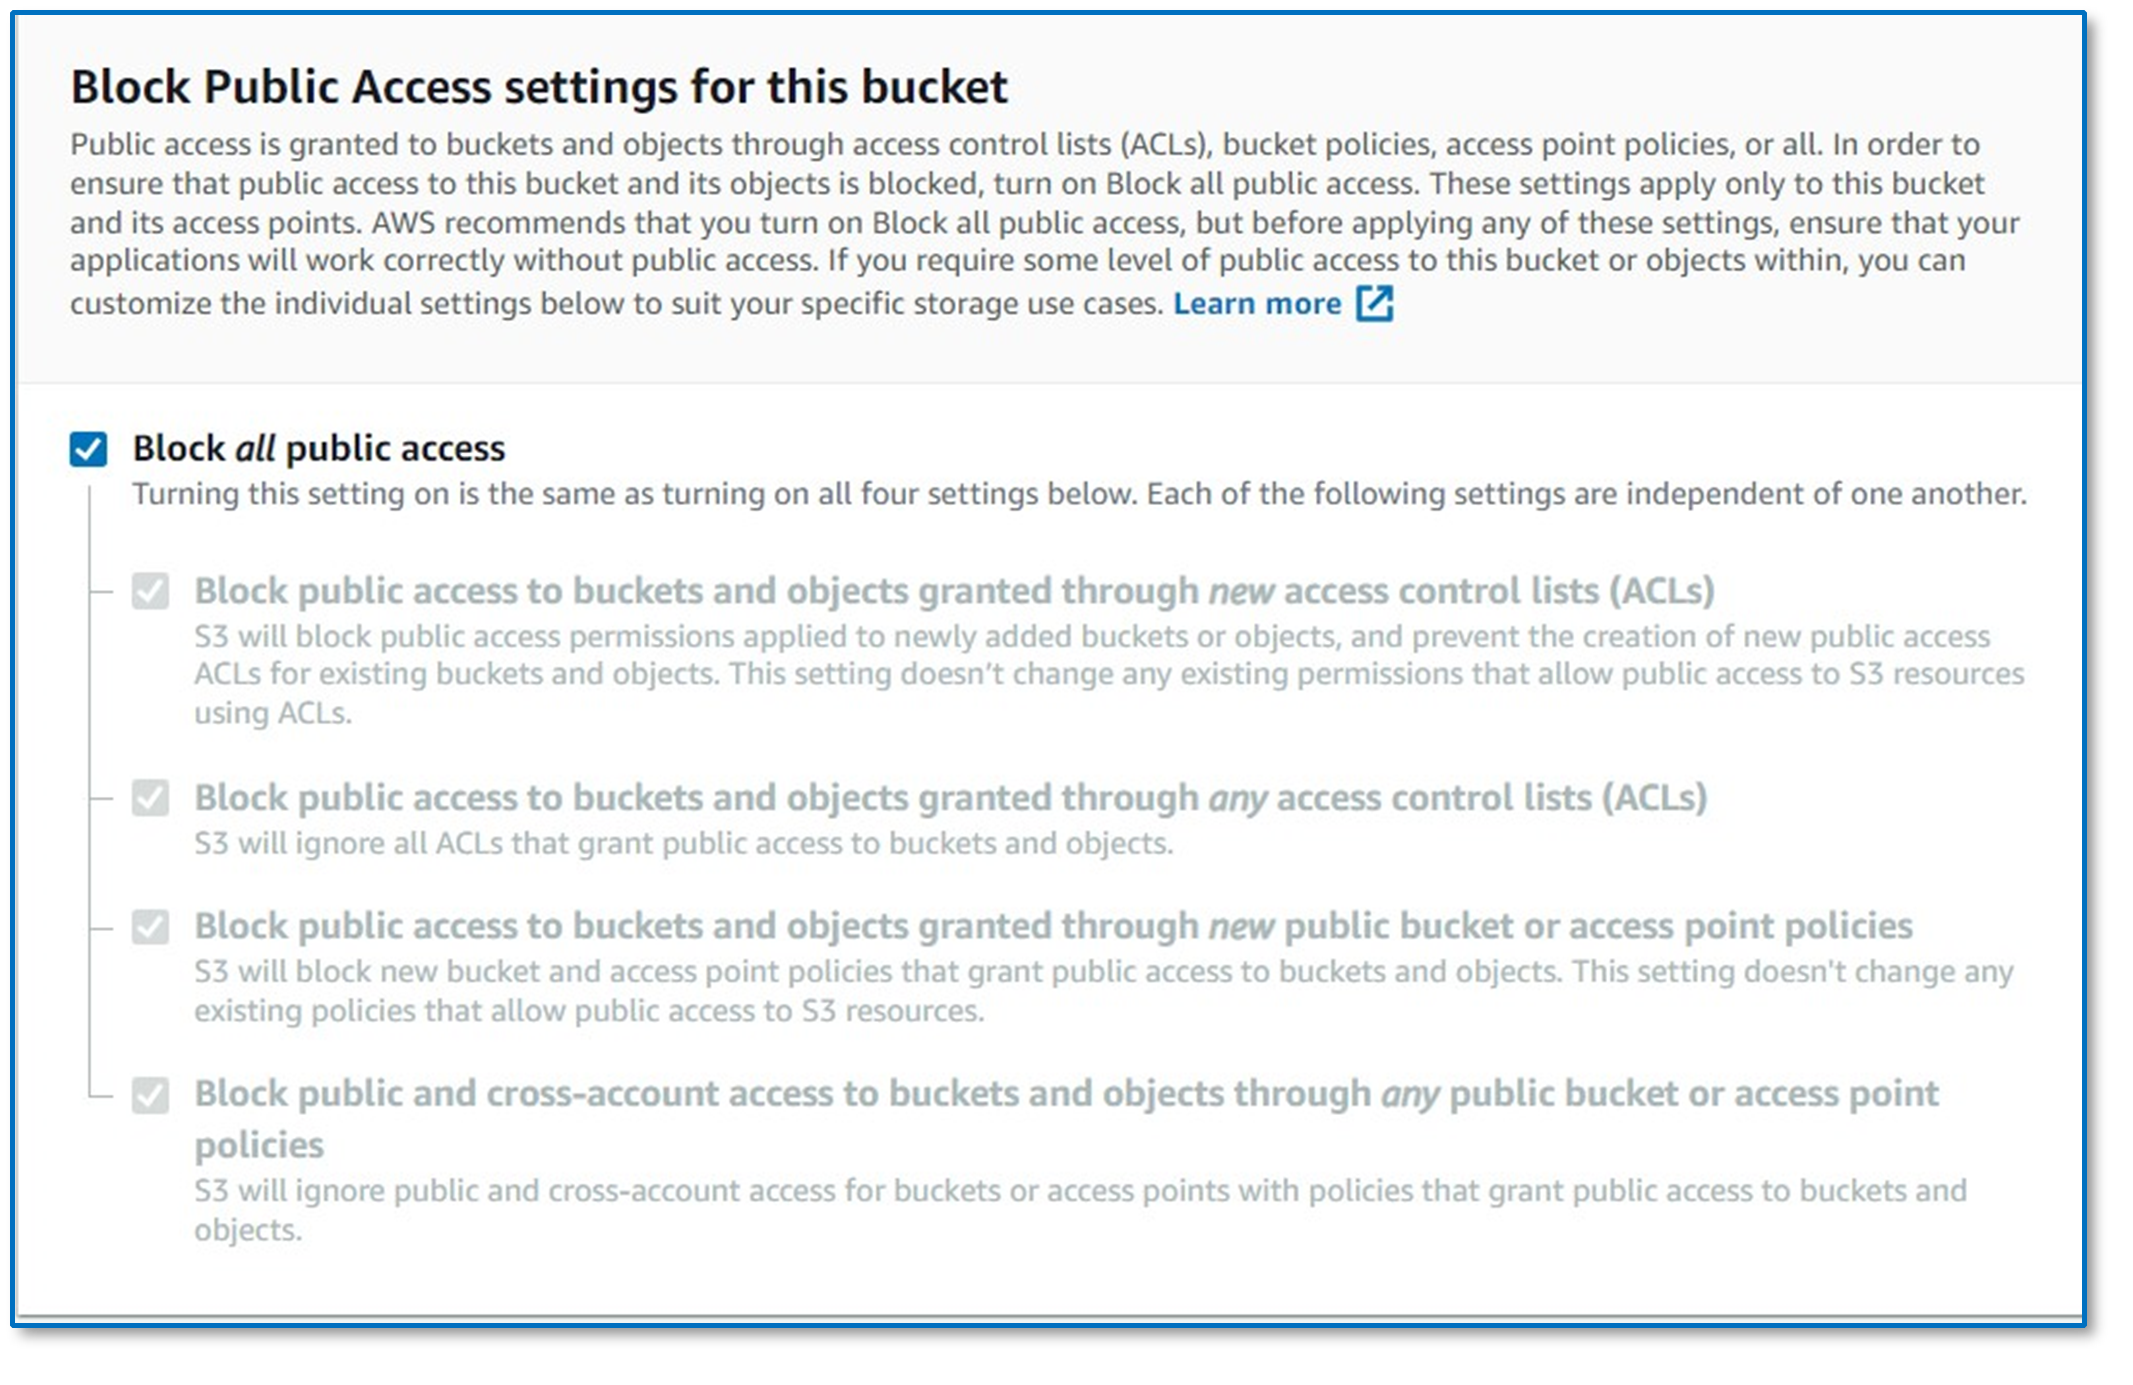
Step-9: Put the tick on the confirmation screen that you have opened all external access (public access).
Then scroll down the page.
Step-10: Come to end of screen and press the “Create bucket” button

Step-11: You should now be able to see the bucket you created on the S3 main screen